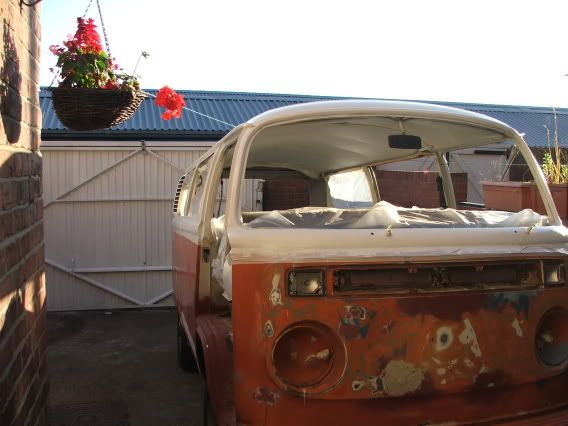
I'm luckier than most VW fanatics in the my father is a sheet metal worker, that's to say that he's good to have around when cutting, forming and welding panels and chassis parts to go onto the bus. The bus needed welding in all of the usual areas, basically the bottom 6" of panels all around the bus and a new section of chassis leg around the engine, some floor work and a couple of outriggers too.
We tried to keep as much of the original VW metalwork as possible and only replaced what was absolutely necessary.
The rear apron / valance was rotten so this was replaced fully.
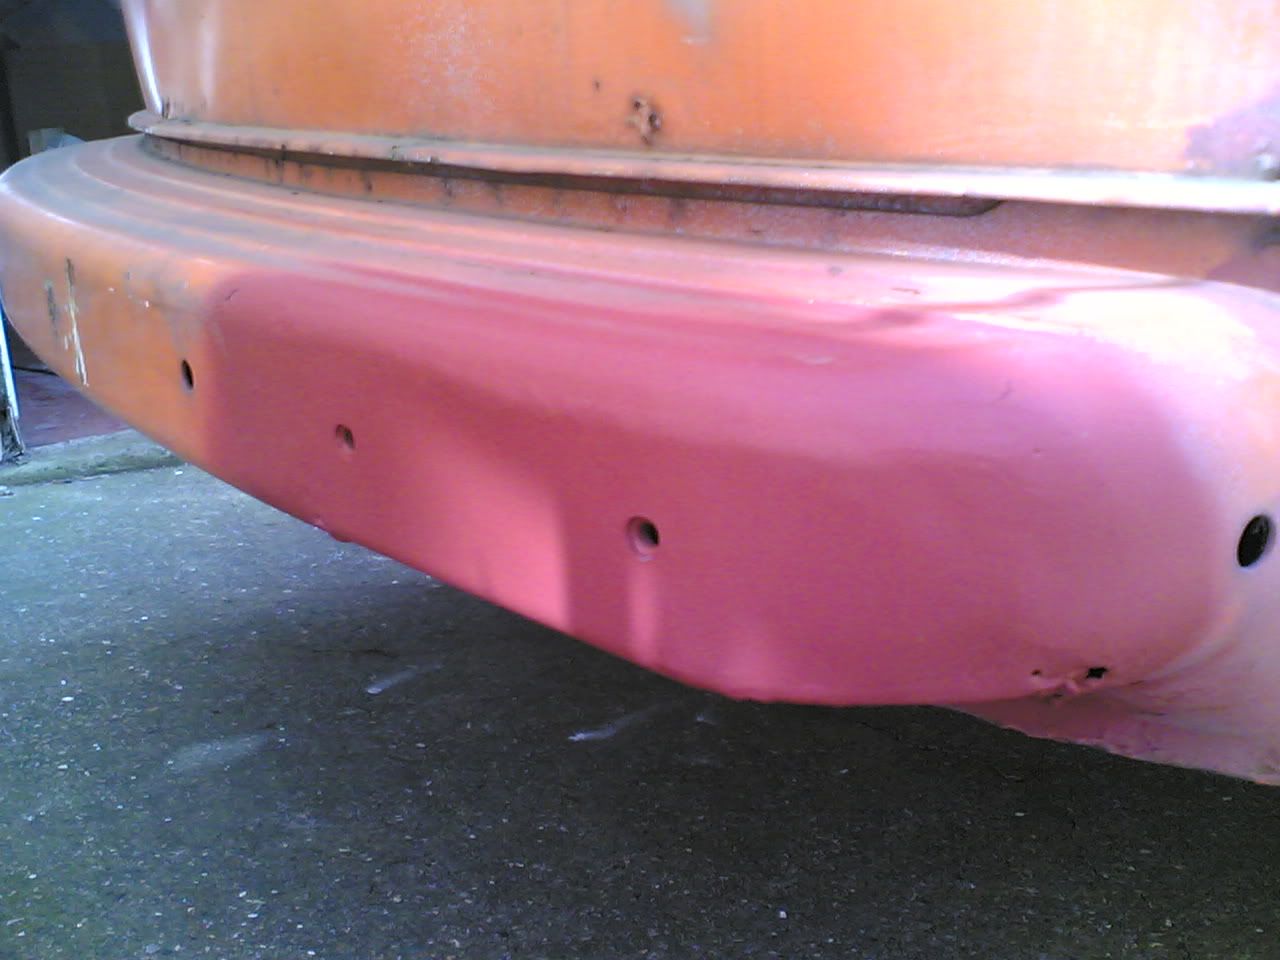
A small repair made to the front bumper deformation panel.
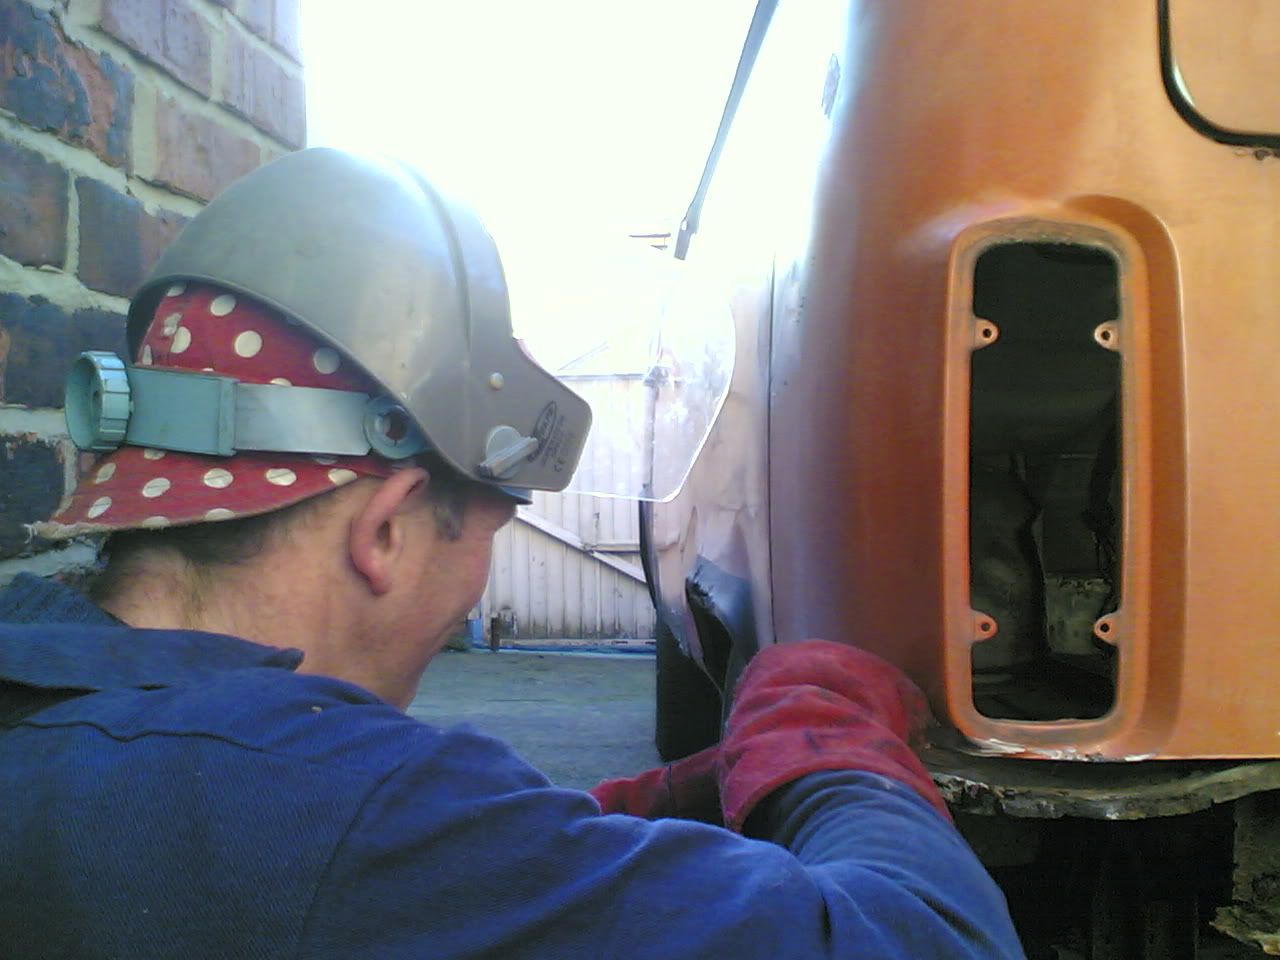
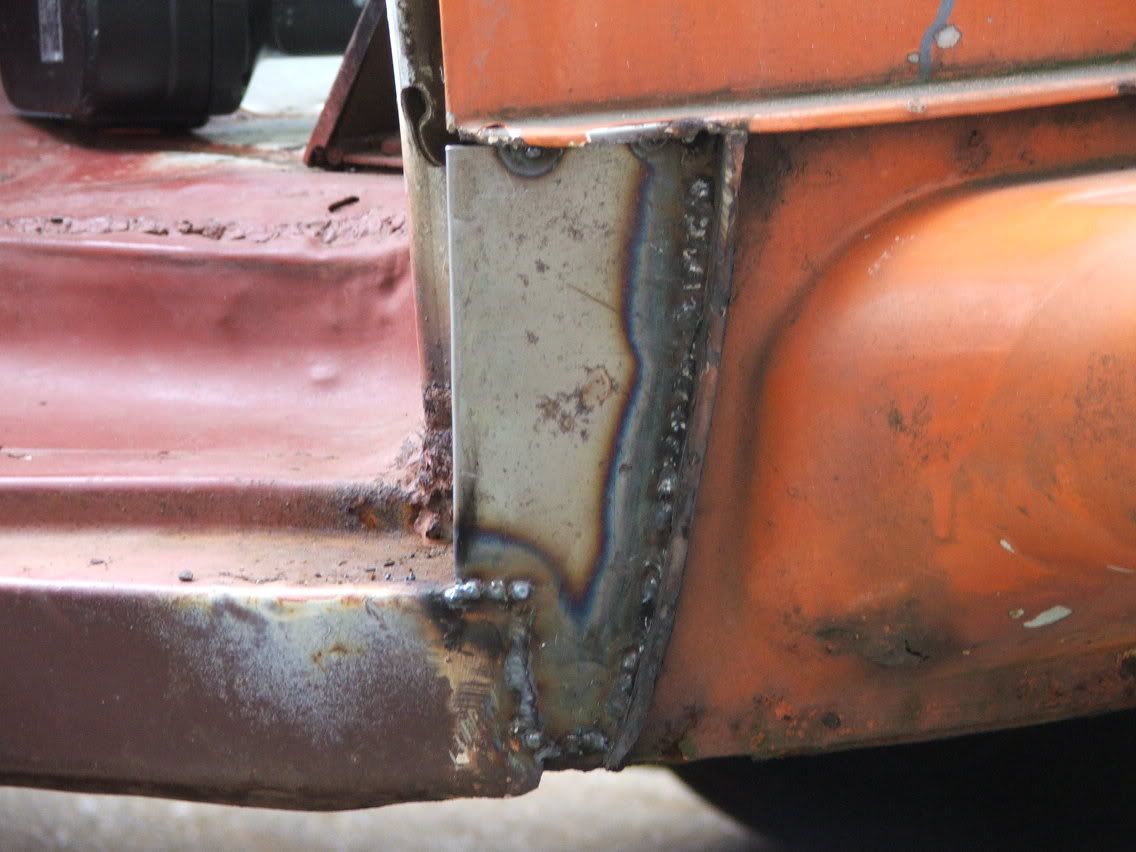
Both of the rear corner needed replacing...
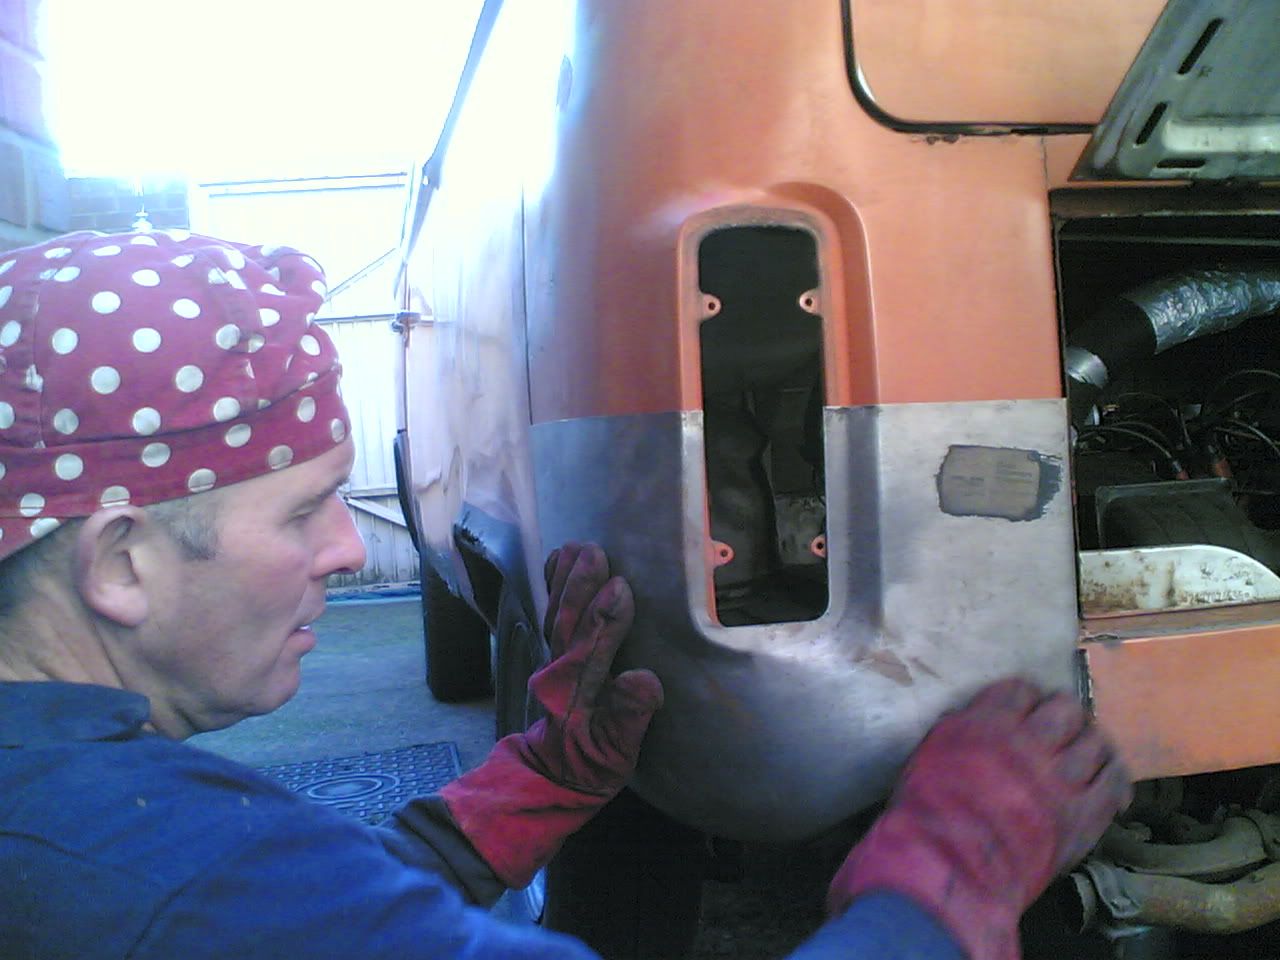
surprisingly the battery tray on the ns was ok
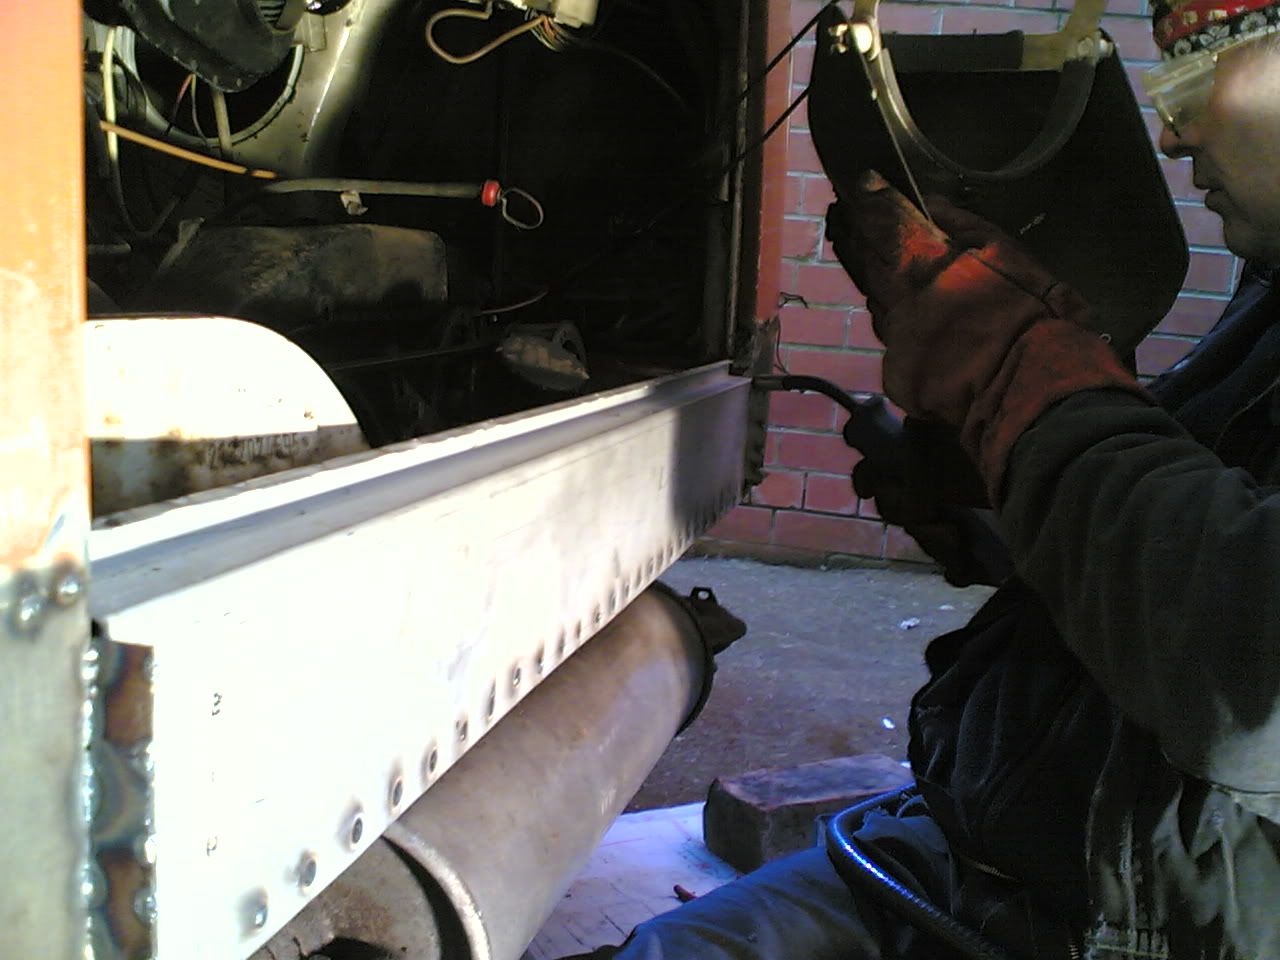
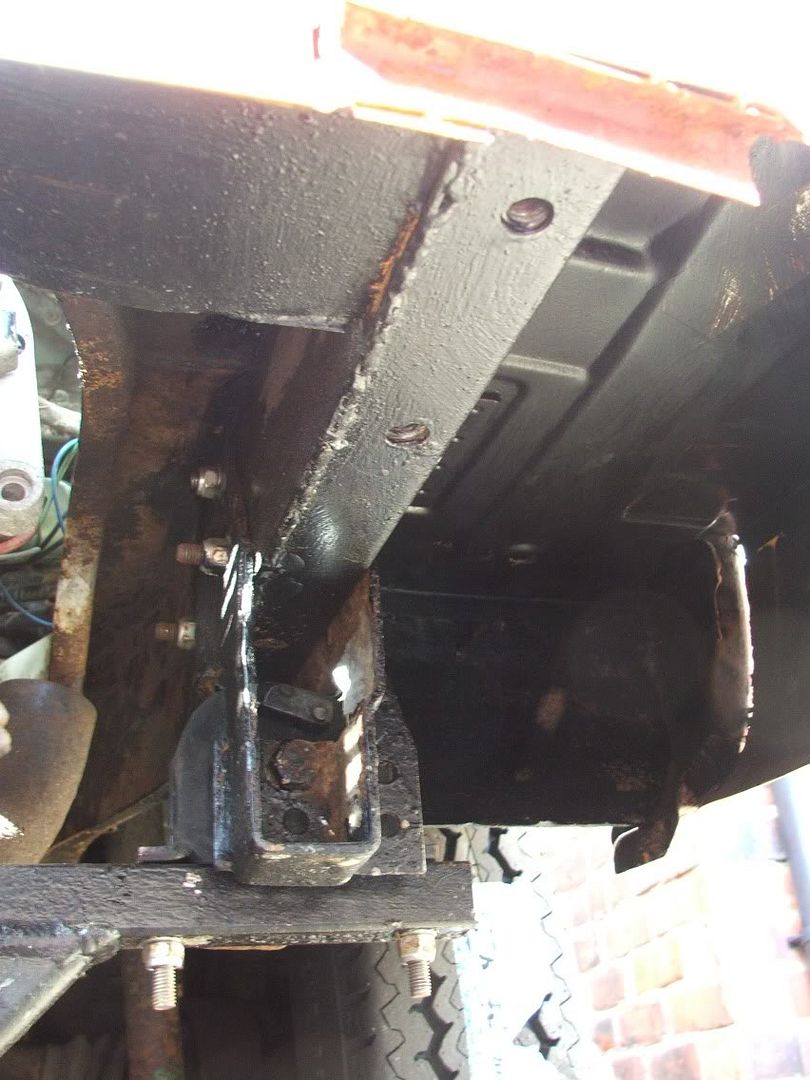
a new rh chassis leg was fabricated by dad complete with captive nuts internal to the box section for the bumper irons.
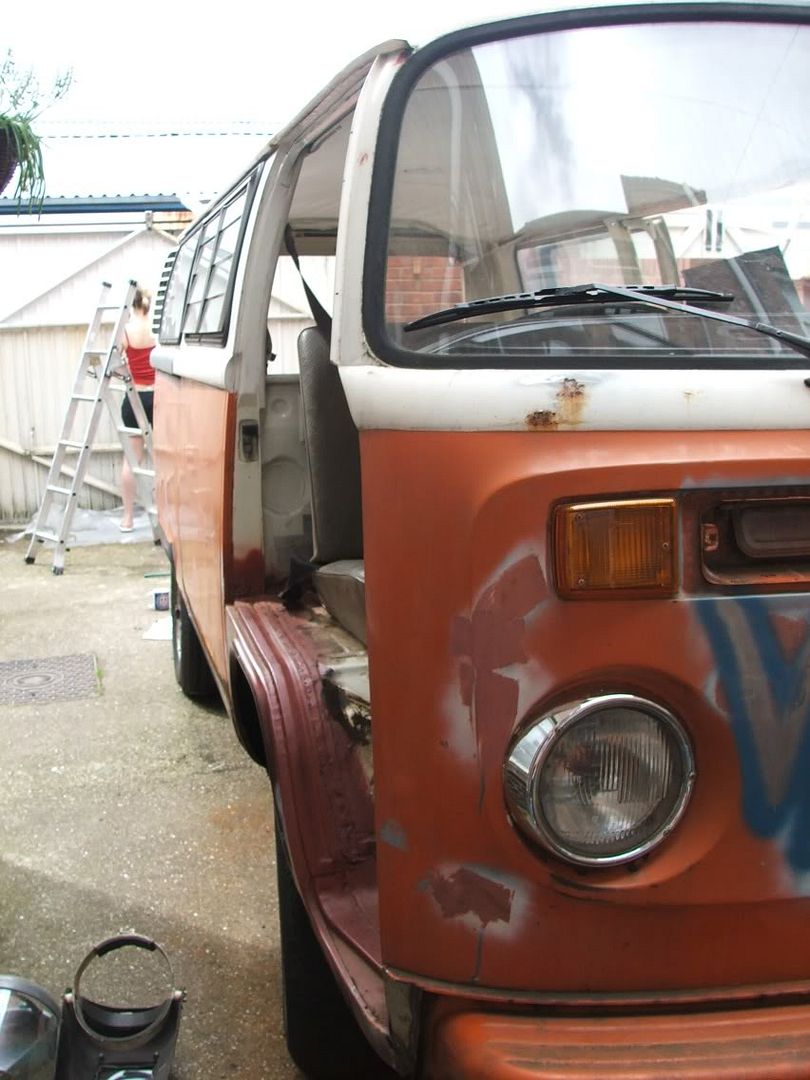
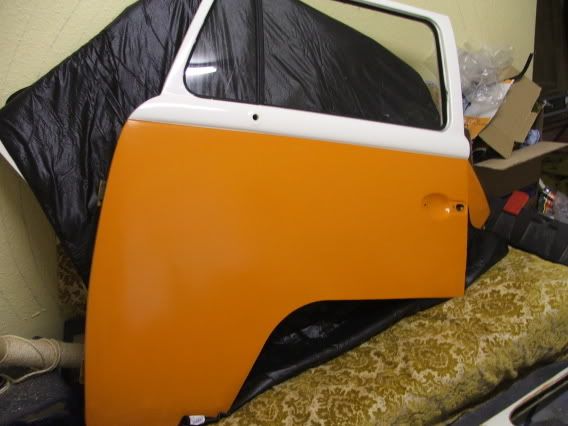
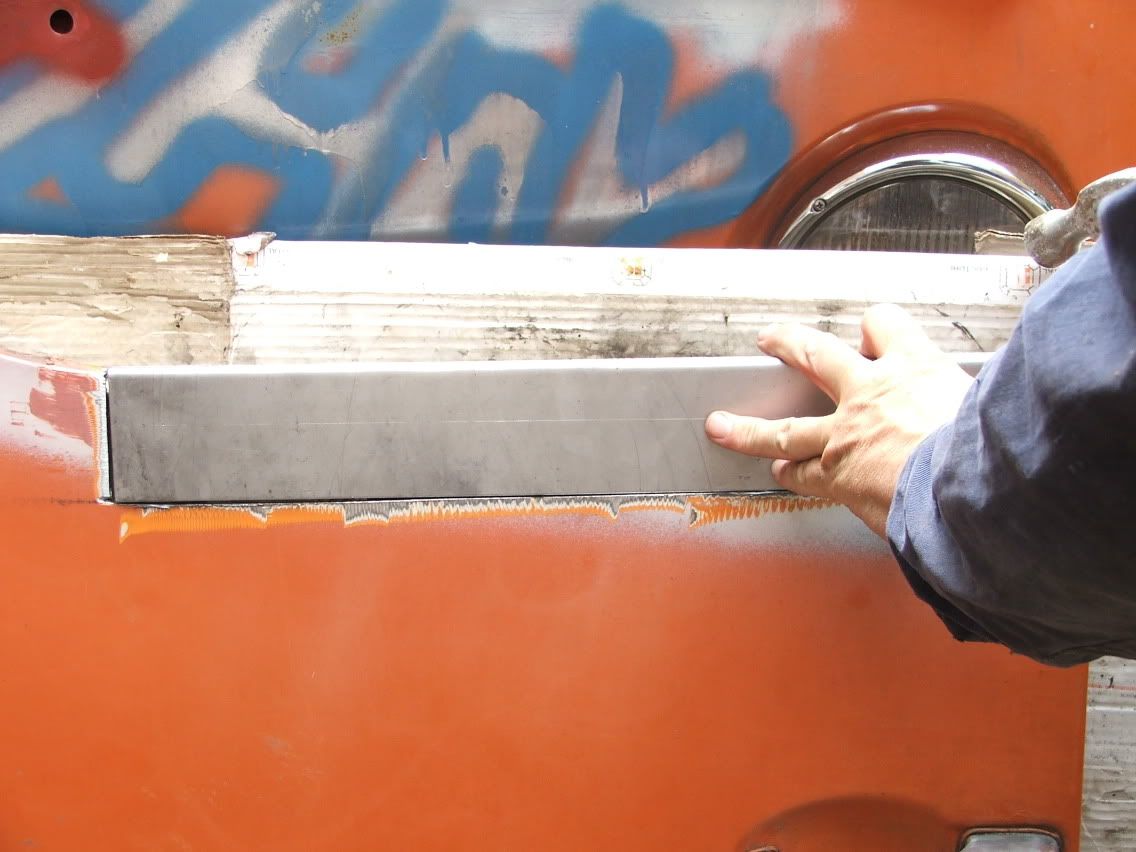
Both doors needed some bottom repairs, both new repair panels were fabricated by dad...
Both steps and front arches had thankfully been replaced but the small closing section was needed on the os.
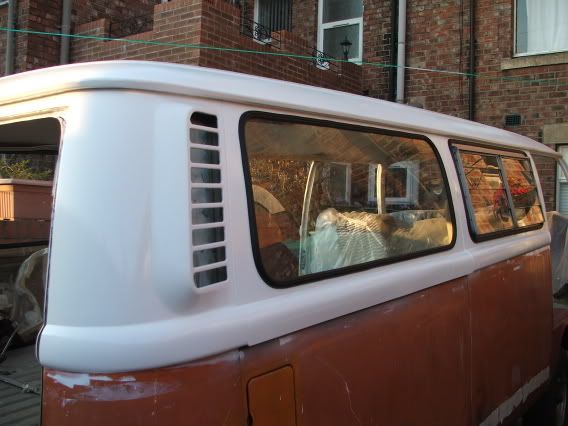
Additional to this there were a number of patches to the floor required, the roof corner needed replacing along with some gutter sections.